6.5. Config Helper
Config helper is a dialog that is shown when creating a new site. It is designed to quickly create a site with basic settings such as the settings that are used to find the post URLs in a category page for automatic crawling, finding the post title and content in the post pages, making lazily loaded images not lazily loaded, and so on.
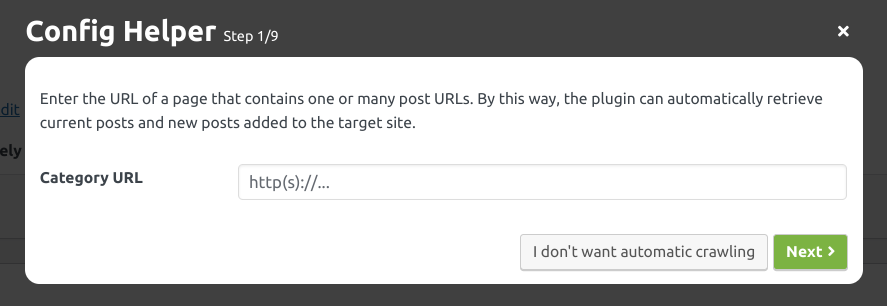
Fig. 6.34 Config helper dialog displaying the first step
Disabling the config helper
You can disable the config helper via Disable auto-showing the config helper for new sites setting.
Note
You can change the settings created by Config Helper, as it simply defines the values of the inputs existing in the site settings page.
6.5.1. Steps
The config helper has many steps. Steps have their own descriptions that will help you immediately understand what you should do in each step. When you configure the step, click the button to go to the next step. To go to the previous step, you can use the button. In the last step, you can click the button to complete the config helper and publish the site settings.
6.5.1.1. Category URL step
Enter the URL of a page that contains one or many post URLs. By this way, the plugin can automatically retrieve current posts and new posts added to the target site.
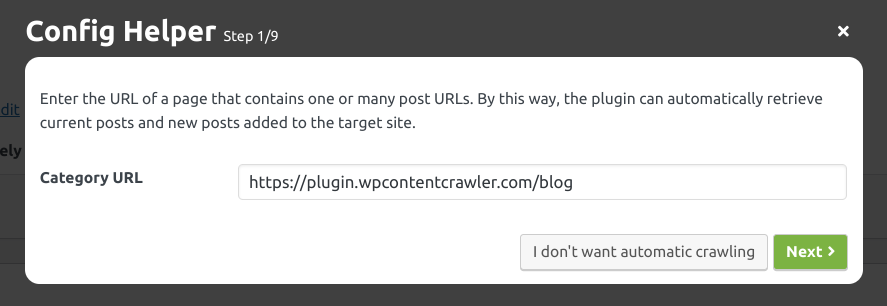
Fig. 6.35 Category URL step of Config Helper
If you do not want the target site to be automatically crawled, you can click the button to skip the steps that are related to automatic crawling.
6.5.1.2. Post URLs step
You need to select post URLs by clicking the button shown in this step.
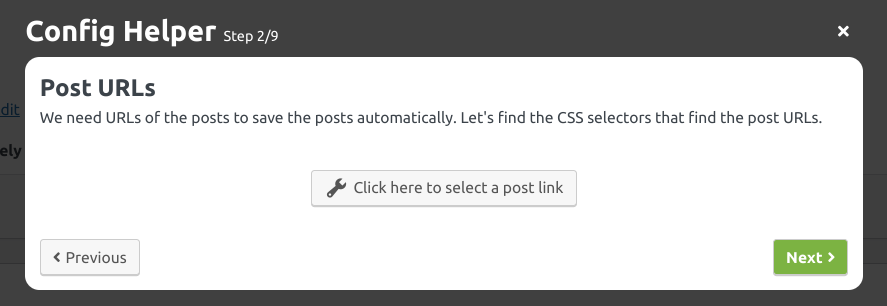
Fig. 6.36 Post URLs step of Config Helper
Once you click the button, a Visual Inspector is shown. You need to wait until the target category page is loaded and then click a post URL. When you click a post URL, Visual Inspector is immediately closed, and the found post URLs are shown to you as a row, as it is shown in Fig. 6.37.
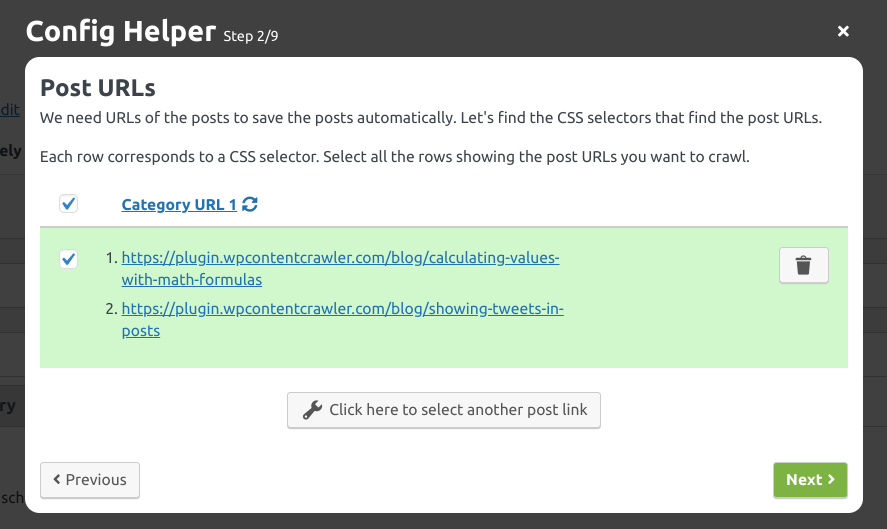
Fig. 6.37 Post URLs step of Config Helper with a row displaying the found post URLs
You can remove the found row via the button if the shown URLs do not belong to the posts. You can also use the button to select more post URLs. Each row displayed in the table shown in Fig. 6.37 corresponds to a CSS selector. You can check or uncheck the rows to add or remove the CSS selectors, respectively. The CSS selectors of the selected rows are assigned to Category URL Selectors setting.
6.5.1.3. Post URL step
Enter the URL of a sample post page. This will be used to find the CSS selectors of the post title, post content, etc. The post URL input is automatically filled if you found post URLs in the Post URLs step.

Fig. 6.38 Post URL step of Config Helper
The defined post URL will be assigned as the value of Test Post URL setting.
6.5.1.4. Lazily loaded images step
This step tries to detect the lazily loaded images existing in a few of the target post pages. Fig. 6.39 shows the step when there are no lazily loaded images detected in the target page, while Fig. 6.40 shows the step when there are lazily loaded images detected in the target post pages.
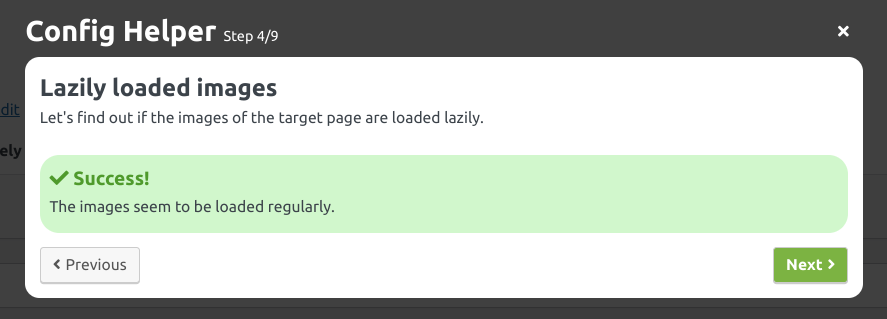
Fig. 6.39 Lazily loaded images step of Config Helper, where no lazily loaded images detected in the target page
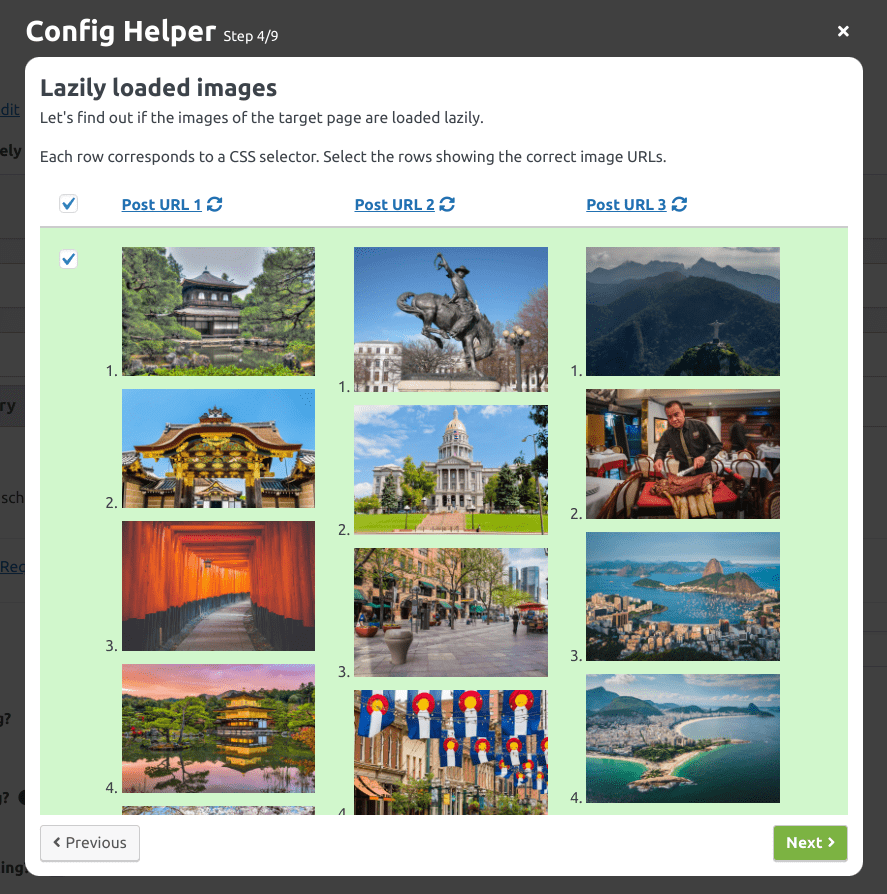
Fig. 6.40 Lazily loaded images step of Config Helper, where there are lazily loaded images detected in the target page
Each selected row corresponds to a set of configurations for Exchange element attributes and Remove element attributes settings. You can select or unselect a row to use or not use the configurations, respectively.
6.5.1.5. Post page preparation step
This step is used to prepare the post page before retrieving the post content.
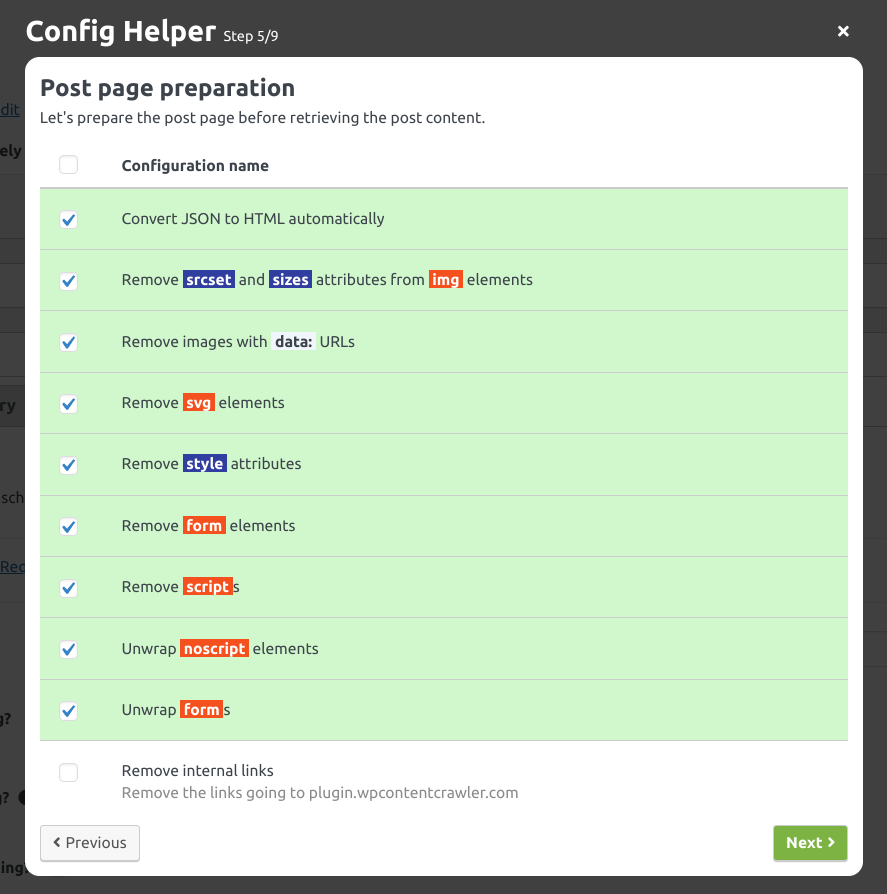
Fig. 6.41 Post page preparation step of Config Helper
There are many predefined configurations in this step, where each configuration is shown as a row. You can select or unselect a row to use it or not use it, respectively. Several rows are automatically selected when this step is loaded for the first time.
As an example, when you select the Convert JSON to HTML automatically row, the checkbox of
Convert JSON to HTML automatically? setting is checked. As another example, when you select the Remove internal links
row, a filter that uses Remove links command is added to Post page filters setting so that the
links going to the target site’s domain are removed from the page.
6.5.1.6. Post title step
This step is used to find a CSS selector that finds the title of the post in each target post page. Config Helper tries to find a few CSS selectors that find the title and displays them as rows. You can select or unselect these rows to use or not use them, respectively. If the displayed rows do not contain the correct titles, or there are no rows displayed, you can use button to find a CSS selector via Visual Inspector.
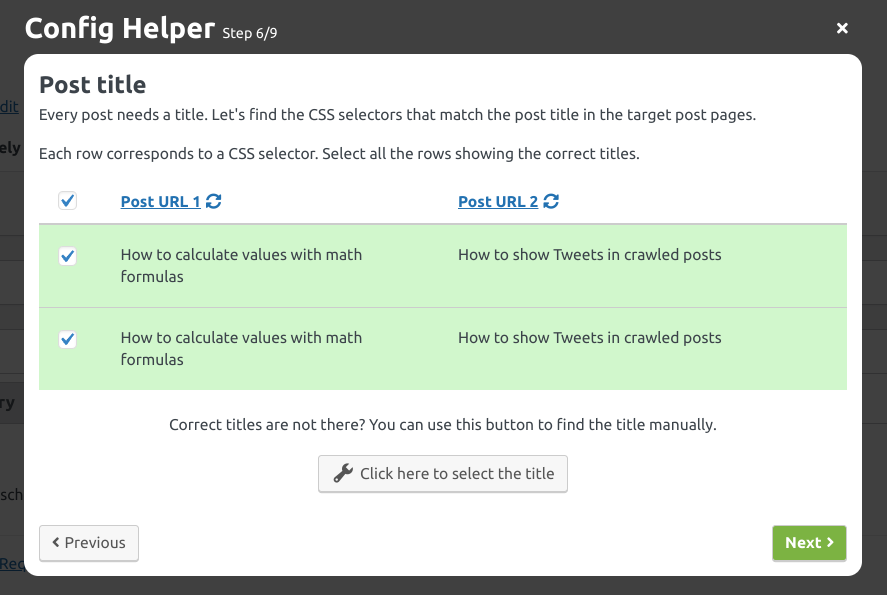
Fig. 6.42 Post title step of Config Helper
Each selected row adds a configuration to Post Title Selectors setting.
6.5.1.7. Post content step
This step is used to find a CSS selector that finds the content of the post in each target post page. Config Helper tries to find a few CSS selectors that find the content and displays them as rows. You can select or unselect these rows to use or not use them, respectively.
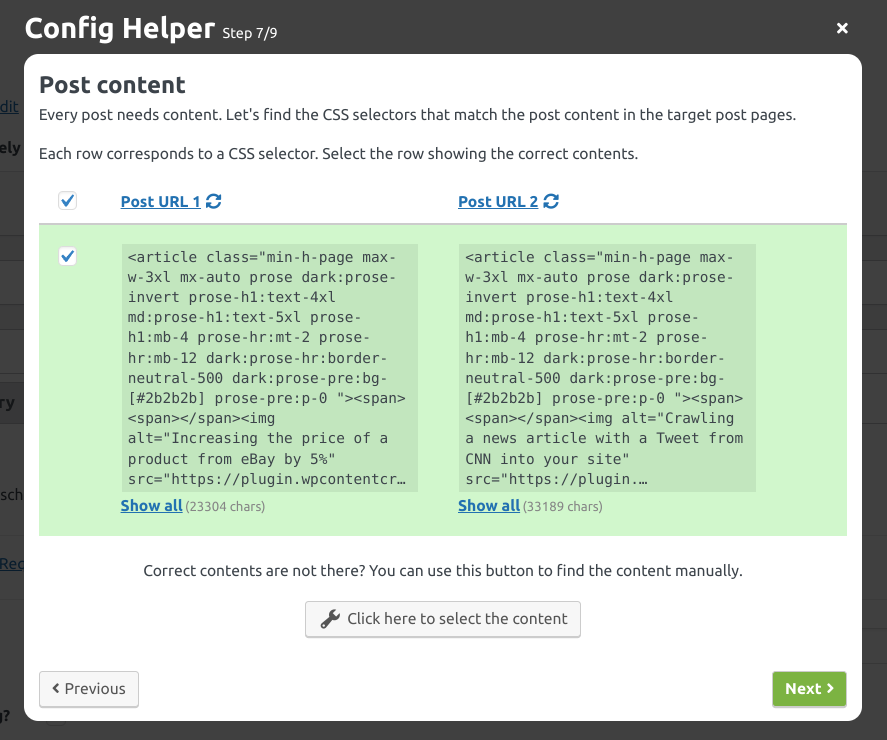
Fig. 6.43 Post content step of Config Helper
To preview the found content, you can click the cells of the table. If the preview does not display the correct content, you can use button to find a CSS selector that finds the correct content via Visual Inspector.
Each selected row adds a configuration to Post Content Selectors setting.
6.5.1.8. Featured image step
This step is used to find a CSS selector that finds the featured image of the posts. Config Helper tries to find a few CSS selectors that find the featured image and displays them as rows. You can select or unselect these rows to use or not use them, respectively.
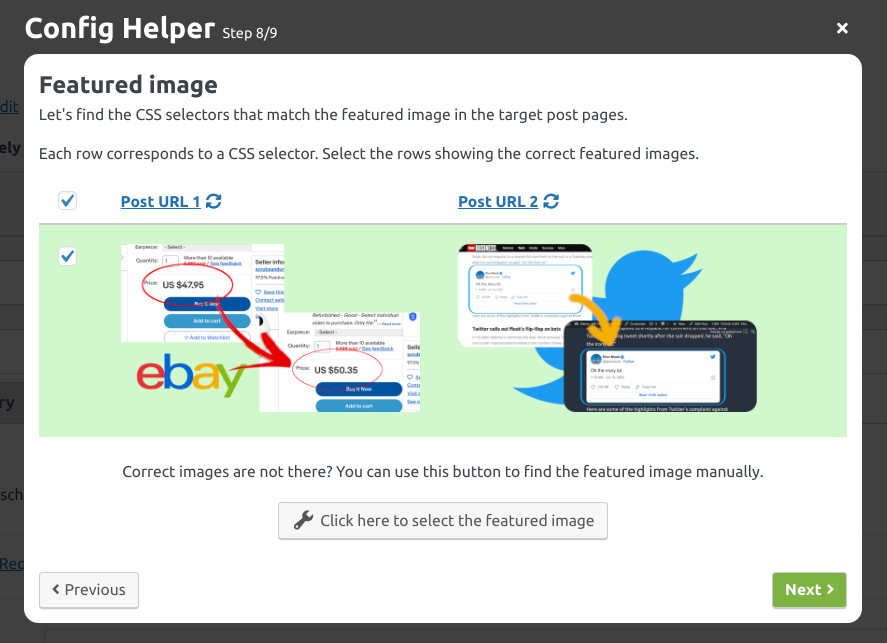
Fig. 6.44 Featured image step of Config Helper
To preview the found images, you can click the cells of the table. If there are no rows that display the correct featured images for the post pages, you can use button to find a CSS selector that finds the correct featured images via Visual Inspector.
Each selected row enables Save featured image, if it is not found in category page? setting and adds a configuration to Featured Image Selectors setting.
6.5.1.9. Finalization step
This step displays a few predefined configurations for you to select, such as configurations for enabling automatic crawling and saving all the images in the post content.
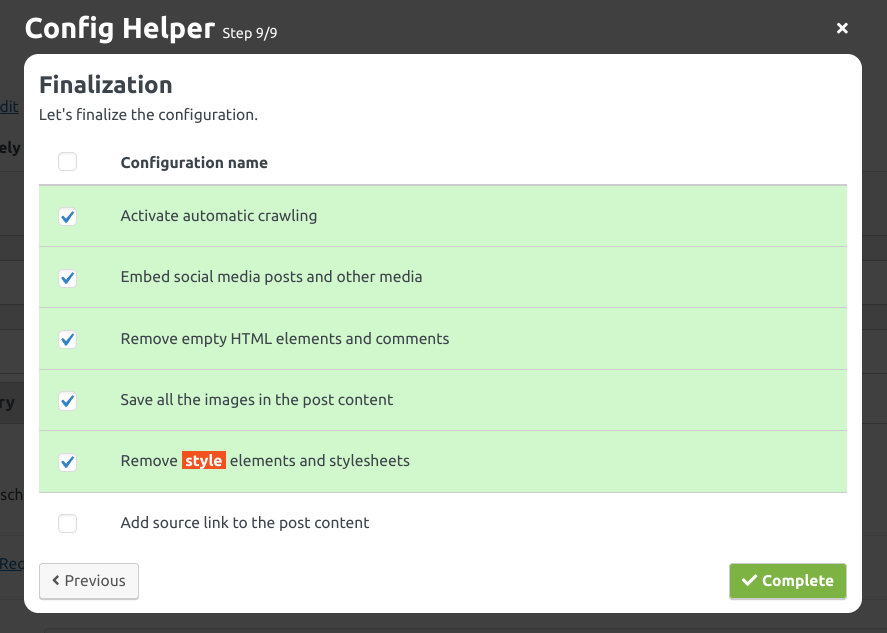
Fig. 6.45 Finalization step of Config Helper
There are many predefined configurations in this step, where each configuration is shown as a row. You can select or unselect a row to use it or not use it, respectively. Several rows are automatically selected when this step is loaded for the first time.
As an example, when you select the Activate automatic crawling row, the checkbox of Active for scheduling? setting is
checked. As another example, when you select the Add source link to the post content, Post Content Template
setting is configured to contain a link that points to the target post page’s URL, which is done by using the
[wcc-source-url] short code.
When you click the button, the plugin does the following:
- Adds the defined category URL to Category URLs setting
- Sets the value of Test Category URL setting as the defined category URL
- Sets the value of Test Post URL setting as the defined post URL
- Sets the value of Site URL by extracting it from the defined category URL or post URL
- Sets the title of the site as the host of the category URL or post URL
- Publishes the site settings
After the site is published, you can observe the created settings and modify them if you want. If you need to configure the other settings, you can do so. You can also test the site settings by using Tester Page to make sure the settings work as expected.